
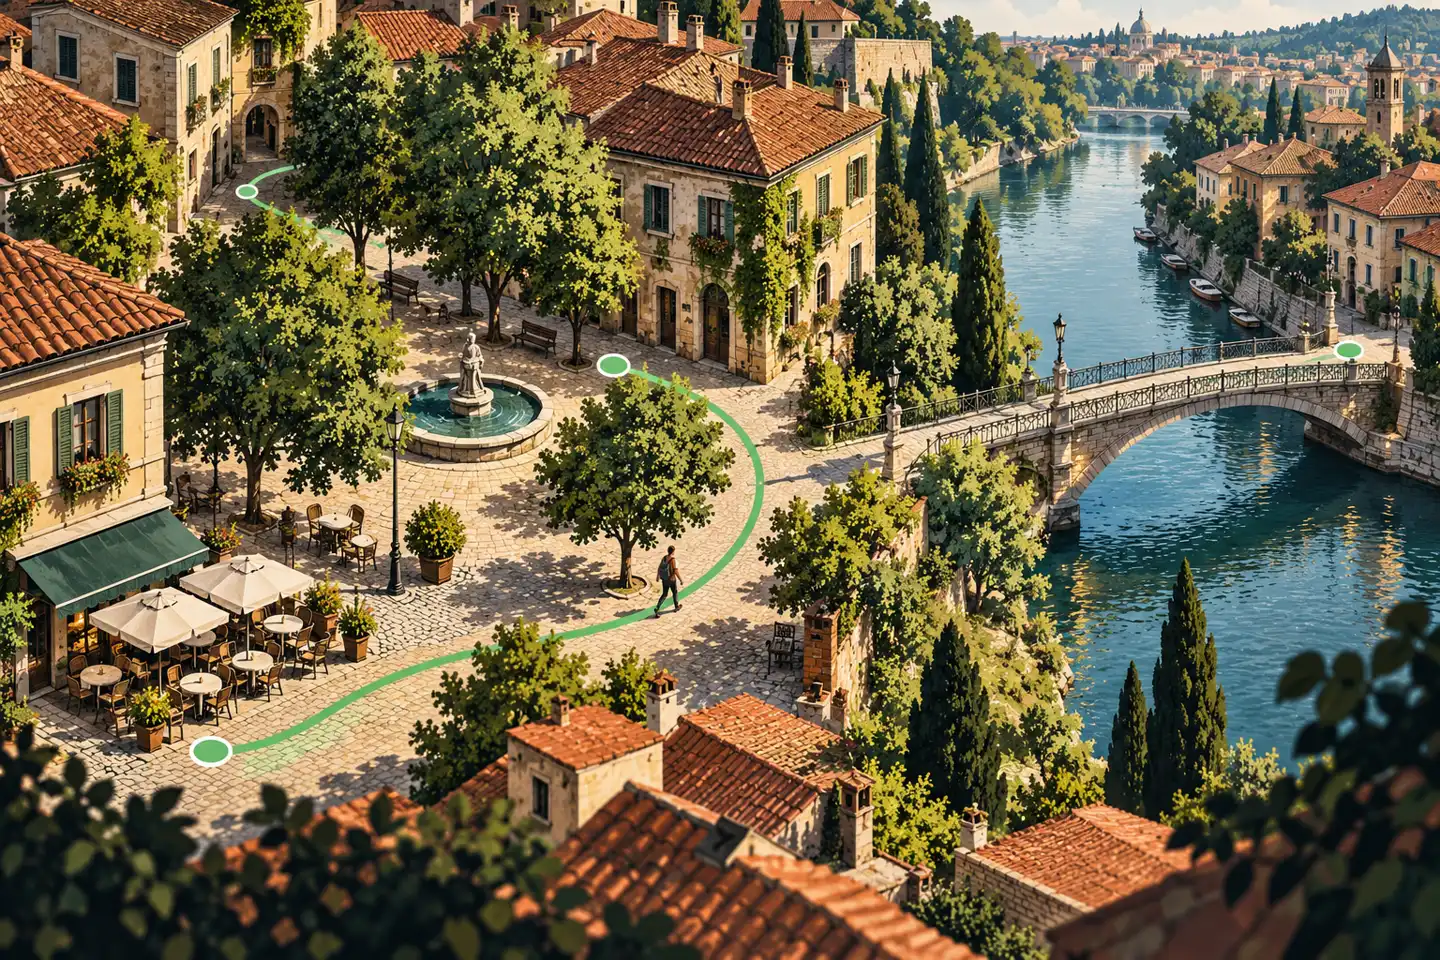
You open a map, save a few interesting places and connect the dots. Your afternoon walk is ready.
Then you look more closely. One stop is on the other side of the city. Another involves a climb. The museum between them needs a reservation.
A walking route needs a little more thought than a collection of pins.
The good news is that you can build an enjoyable outing around just a few places. Choose an area, give the walk a purpose and leave room for discoveries along the way.
Start with something you want to discover
What would make this walk worthwhile for you?
Perhaps you want to explore historic streets, look at architecture, visit independent shops or spend time beside the water.
Choose one main interest. It will help you decide which places belong on the route and which can wait for another day.
For example, an afternoon focused on architecture might include a square, two buildings and a café between them. A food-focused walk could revolve around a market and somewhere you want to eat.
You do not need to include every famous attraction nearby.
Pick a manageable area
Start with one neighbourhood or a small group of neighbouring areas.
Find your main stop on a map, then look around it. Save a few other places that genuinely interest you and check the walking routes between them.
Pay attention to more than distance:
- Are there steep sections or stairs?
- Does the route follow pedestrian paths?
- Are any crossings or entrances unclear?
- Can you shorten the walk if necessary?
- Where could you stop for a break?
Use the map’s walking directions as a starting point. Check local information where access is uncertain, particularly for parks, waterfront paths and routes through private property.
Give the walk a beginning and an ending
A clear starting point makes the day easier to organise. It could be a station, your accommodation or a square you can reach conveniently.
For the finish, choose somewhere you would be happy to spend time: a lunch spot, a garden or an area with straightforward transport back.
The route does not have to form a loop. Finishing somewhere different can work well if you have checked the return journey.
If your final stop has a reservation, work backwards from that time and leave room for delays.
Choose three main stops
For a first draft, try three stops:
- A place you particularly want to see.
- Somewhere that adds variety.
- A place to rest or finish the outing.
Then add optional stops between them.
This gives you a useful distinction while you are walking. You know what matters most, and you can skip the extras without feeling that the route has fallen apart.
Here is an illustrative plan:
| Part of the walk | Purpose | What to check |
|---|---|---|
| Starting square | Get your bearings and look around | How to reach it |
| Main attraction | Spend time on your strongest interest | Opening and entry arrangements |
| Connecting streets | Explore between destinations | Pedestrian access and terrain |
| Optional stop | Add something if you feel like it | Whether it requires a detour |
| Café or garden | Rest and decide what comes next | Availability and return route |
Allow time to do more than walk
A map’s estimated walking time does not include the things that make an outing enjoyable.
You may stop for photographs, browse a shop, wait at a crossing or spend longer than expected inside a building.
Separate travel time from visiting time when planning. If you want to enter a museum, give it its own place in the schedule.
Avoid filling every remaining minute. A route with room to pause is easier to adapt than one built around arriving everywhere at an exact time.
Look at the streets before you go
Where relevant footage is available, a recorded city walk can help you prepare questions about your route.
You might notice steps, narrow pavements, exposed stretches or places where you would like to pause. Check whether those details apply to the streets you intend to use.
On YouCity, explore your destination’s available videos and look for the kinds of surroundings you enjoy.
The footage may follow a different route from yours. It can inspire the walk, but it does not confirm current access, weather, safety or accessibility. Verify important details through current local sources.
Prepare for a change of plan
Before leaving, identify one place where you could shorten the route and one indoor alternative you would actually enjoy.
Check the forecast and choose footwear appropriate to the surfaces and conditions you expect. Carry what you need for the outing, including water and any personal essentials.
If you rely on your phone for navigation, consider saving the relevant map for offline use where supported.
For accessibility requirements, verify specific surfaces, gradients, entrances and facilities. General descriptions such as “walkable” may not answer the questions that matter to you.
Once you arrive, let the route breathe
Use your planned stops to guide the outing, then pay attention to what you find between them.
If a street interests you, check where it leads before taking a detour. If somewhere feels uncomfortable or access is unclear, choose another route.
You can also finish early. Reaching the last pin is less important than enjoying the time you have spent exploring.
At the end, save the places you would like to revisit. A first walk can give you the beginnings of tomorrow’s plan.